Announcing!
Kim's Christmas extravaganza 2023
I made some Gnomes for people at work and for others in my life.
It took me every spare moment for a month, so all quilting activities were put on hold!
(It started with plan A ,which was glass etching and I found it was far too messy and took too long).
So I browsed YouTube for another idea, and found this.
Step 1
Names
I gave them all names starting with 'G' then chose the fabric from my never ending stash.
Here is a scan of my fabric plan.
Hats
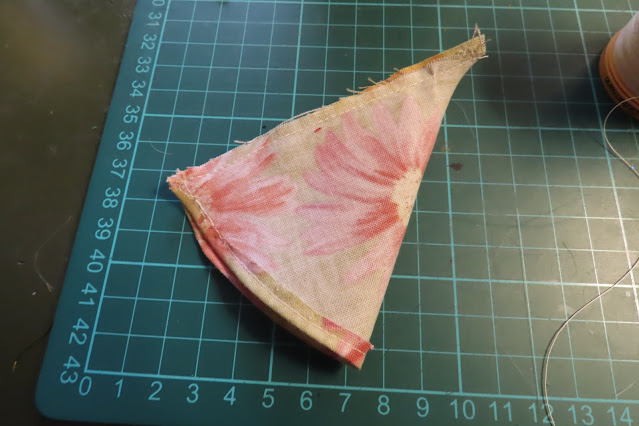
I then traced, cut out and made the hats.
Then I turned them the right way out and sewed on the pom poms.
Step 3
Weighted Bases
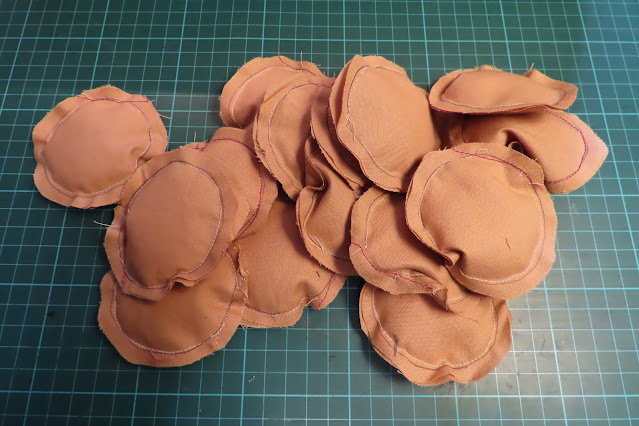
I also made the weighted bases. They are filled with plastic pellets that are used by toy makers.
Traced, cut, sewed, filled with a funnel, then I sewed up the opening.
I called them the ravioli.
Step 4
Beards
I hope the fabric is not carcinogenic, because I had it everywhere, in my mouth, eyes blah!
I traced out and carefully snipped out the beards, with little scissors.
Step 5
Bodies
Using a template on the grey felt I traced and then cut out the gnome bodies.
Then mark the spot for the beard and sew it on.
Then I carefully tucked the beard inside and sewed up the seam.
I sewed on the round base, making sure the beard was tucked away.
Pinned on the base, then sewed it on.
Then to turn them the the right way out.
First I used my trusty pinking shears around the base.
Then pushed it through, beard first.
And poked the top into a point.
Step 6
Noses
I couldn't get enough of the same beads to make them all the same (gnomes must be popular this year) so I used a variety of colours and sizes amongst the donsy!
Firstly, I marked the center for the nose with a pin and then sewed it on.
and here we are with my very patient prototype practice gnome Got an Idea gnome.
Filling
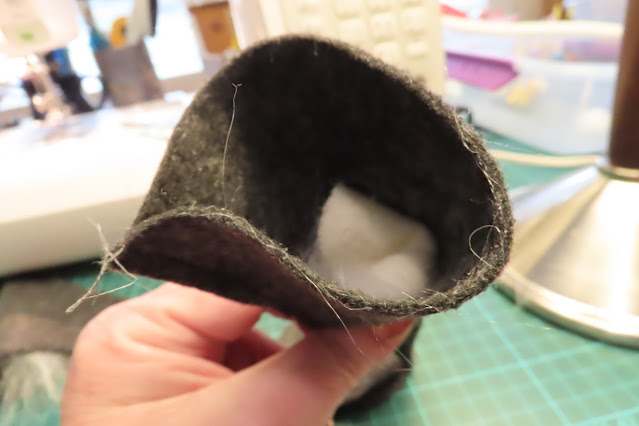
First pop the ravioli into the base and give it a good push around so its flat.
Then shove some stuffing in and start hand stitching the back, putting more filling in as the back is stitched and make sure it is poked right up to the point of its head.
This was a great fibre fill. It didn't make a mess at all.
I bought it for another project and only used a little and still only used a little this time.
Its called Great Balls of Fibre , I highly recommend it.
And nearly there!
Decoration
Right,
their all having flags with their names on them.
I download an Irish font from 1001 fonts and here we go!
I bet you 50 cents that you all stroke their beards! - gnomes like that, they told me so.
I'll also tell you that in true Terry Pratchett tradition male and female gnomes in my world both have beards. They can be whatever they want to be.
The team is watching on!
I made the poinsettia flowers on my Cricut cutter, then glued them together and glued a pearl in the center. The pearls were a bit temperamental so if they fall off pop them back with a bit of superglue.
I should have sewed them on in hindsight.
I was going to tie ribbon on the flag staffs, but decided to use sequins as they look like jewels.
Well,
you should see the state of the floor of Kimba's Craft Room.
Its going to need a terminal clean!
Here's Gotcha Gnome finished.
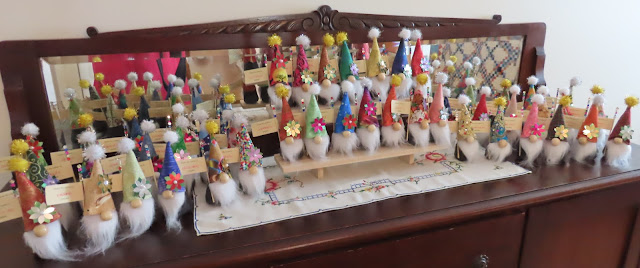
And here they all are..
All 47 of them!
This is and extract from
A group of gnomes is called a donsy.
They have a great sense of community and so enjoy spending time with each other.
Gnomes
are often found together in a wide variety of scenarios such as in a
garden, out in the woods looking for food or when fishing. It is thought
that gnomes are at their best when they are in groups as they work well
together and have a great community spirit. They also share a highly
witty sense of humor which means that they enjoy being around and
working together.
~~~~~~
I'm releasing them at work tomorrow.
I'll update you all on the adoption rates soon.
Who'd you get? Send me a photo!
kimcoranga@hotmail.com.au
Merry Christmas!










+019.jpg)

No comments:
Post a Comment